How To: DIY Paper Plants #WayfairDIY
Beautifully crafted DIY plants that won't wilt, ever.

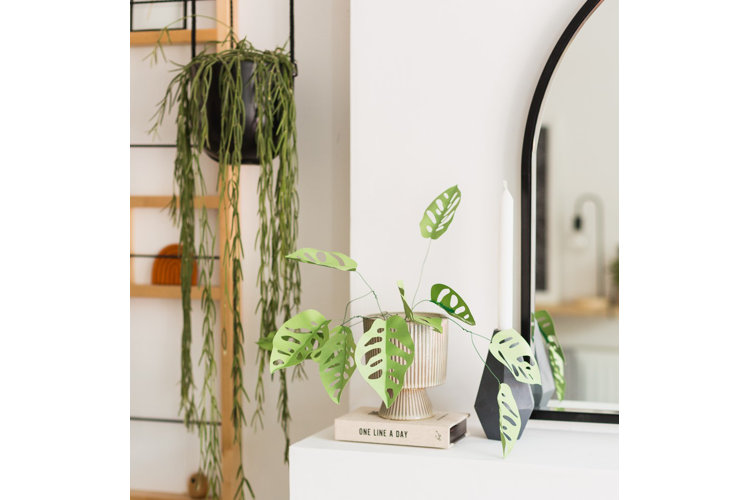
Green-fingered or not, paper plants are the perfect DIY for anyone looking to spruce up their home with some lush greenery. Think no mess, no fuss and a plant that lasts a lifetime, together with DIY blogger, Fall for DIY aka Fran Stone, we're showing you how to make your very own DIY plant - The Monkey Mask.
Aside from the fact that creating DIY paper plants is, actually, incredibly easy; thanks to their zero maintenance and non-toxicity towards pets, more and more people are turning their hand to plant crafts. A few hours of investment, the right tools and some patience can go a long way when it comes to starting an Insta-worthy, botanical indoor garden.
And what good are paper plants without a cute plant pot, hanging basket or planter stand to place them into? Go on, have a go at creating these DIY plants yourself and watch your garden grow (figuratively speaking).
What You'll Need to Create Your DIY Paper Plant
- Monkey Mask leaf outline (To download)
- Paper
- Green card (The shade is up to you)
- Scissors
- Craft knife
- Scorer
- Green masking/washi tape
- Florist wire
- Planters
- Foam/polystyrene
DIY Paper Plants - Step-by-Step Guide
Step 1 - Use Your DIY Plant Template
Print out your monkey mask leaf template in two or three different sizes. This is easily done by changing the size percentage on the print screen. When your leaves are printed, simply cut around the edge of the template with scissors, using your craft knife to cut out the holes inside the leaf.
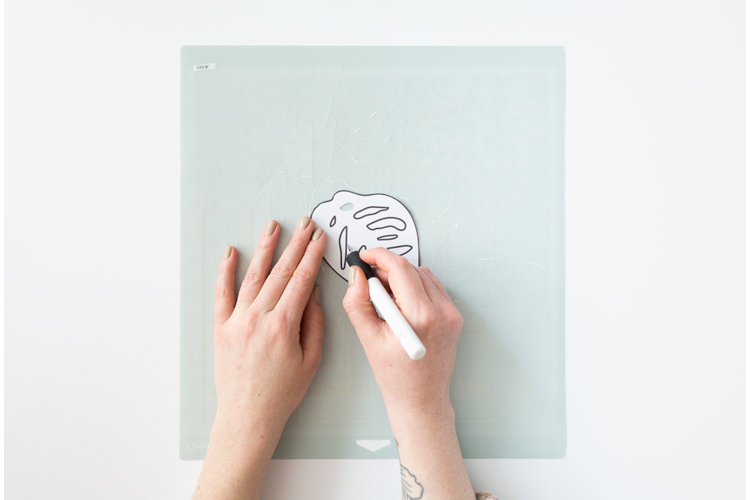
Step 2 - Draw, Cut, Repeat
Now you have your templates for the leaves. Draw around the templates onto the green card, fitting as many leaves as possible onto each piece. Cut each one out and use your craft knife to remove the holes you've drawn inside the leaves. Repeat this with all the templates until you have around 30 leaves in total.
Step 3 - Scoring Your Paper Plant Leaves
Run the scoring tool along the centre of the leaf. You want to create an organic line to create a natural look to the leaf, so don’t worry about making the scored line straight. Fold the leaf in half along this line. If you don't have a scoring tool at hand, the edge of your scissors will do.
Step 4 - Curling Your Paper Plant Leaves
Using the round side of the scorer (or a pen), curl the underside of the leaf. Hold the scorer horizontally across the leaf as you do this to create waves along the leaf's edge.
Step 5 - Creating the Stem for Your Paper Plant
Cut off a strip of tape and attach a piece of wire that's about 20cm long to the fold on the underside of the leaf. Bend the wire down around 1cm from the end of the leaf to create a natural stem look.
Step 6. - Adding Your Paper Plants to Your Planter
Place the foam/polystyrene in the planter. You can wrap this in brown paper to create the look of soil before adding the leaves.
Step 7 - The Finishing Touches to Your DIY Plant
Push the end of the stems into the foam and bend them into position around the base of the pot. Cut some stems shorter and wrap them around the existing stems in the pot to build the plant up.
Step 8 - The Final DIY Plant Product
When you’ve added all your leaves, bend the wires to create an even appearance. Now your plant is ready. No watering required!
Now you have your finished DIY paper plant, shop through our selection of plant pots and planter styles to find a suitable and stylish home for yours. For more DIY plant ideas check out our vertical garden tips - perfect for everything from big gardens to petite balconies.
Images & video c/o Fall for DIY
