How to Hang Mirrors and Pictures Like a Pro
Perfectly straight, every time.
Buying a mirror or bit of wall art is easy. Hanging it up? Not that's a different story. When learning how to hang a mirror or picture on your wall, there are a few key things to consider. You should think about the material of your wall, the weight of your mirror or picture, which hooks to use and the perfect hanging location. Read our guide before you hang your next piece.
Mirror & Picture Hanging: Before You Start
Before hanging your wall mirror or picture, there are a number of things you'll need to know including:
What Your Walls are Made of?
This will affect the types of hooks you'll need and will determine whether it's strong enough to support your mirror or picture.
Ready-Attached Fittings
Does your new mirror or picture already have them?
Instructions
Did your mirror or picture come with a hanging manual?
Screws & Tools
Making sure you have the right hooks and screws is pretty straight-forward. Here are some examples of common hook / screw types that are suitable for different weights and wall types.
Hook & Screw Types
Double Picture Hooks: Maximum load ability 5kg, suitable for wood and plasterboard.
Plasterboard Fastening: Maximum load ability 15kg, suitable for plasterboard.
Screw & Rawlplug:Maximum load ability 20kg, suitable for brick.
Hanging Hook: Maximum load ability 40kg, suitable for brick and wood.
Where to Hang Your Mirror or Frame
After deciding on the most suitable screw and hook type, next think about where you'd like to hang your piece. There are a few factors to consider here; the most important of which being whether electric cables or pipes are present to avoid potential accidents.
For effective installation in your place of preference, here are things to bear in mind:
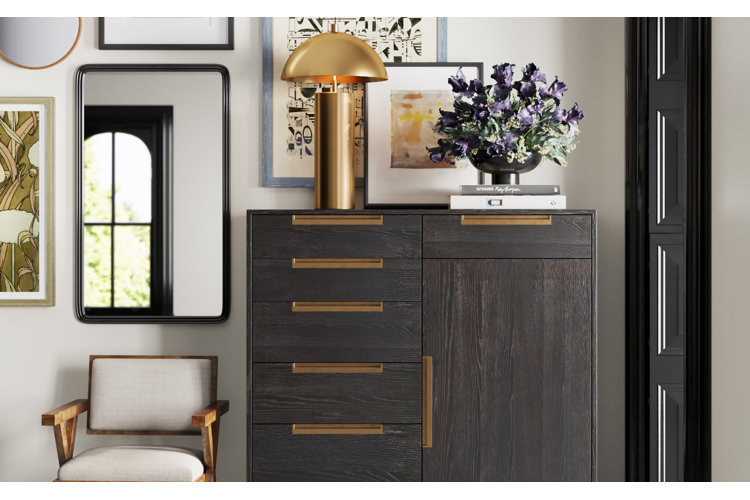
- Mirrors and pictures come in all shapes and sizes but a general rule is to have the centre at eye-level, which is roughly around 150cm above the ground (if you're hanging a full-length mirror, this rule won't apply).
- Installing above a console table or sofa? Aim to leave at least 15 to 20 cm of space between the bottom of the mirror or picture and the piece of furniture.
- Hanging more than one mirror or picture? A general rule is to allow at least 5cm between each piece to avoid a look that's overcrowded.
- Finally, double check that no electric cables or pipes are in line with where you want to drive your nail in. Typically, electrical wires run vertically down from plug sockets and up from light switches, so try to avoid these areas. For extra safety, we recommend using a detector, which will sense any wires, pipes and studs.
Liking What You See? Why Not Start Shopping?
Wire Hung Mirrors and Pictures
If your picture or mirror is fairly light and features a wire for hanging, use a hanging or picture hook (or two if you feel that one's not enough to support it) and follow these steps for measuring:
Step 1: Measure the middle point of the top of the mirror or picture and hold the picture up at the wall at the position where you'd like it to hang. Make a mark on the wall with a pencil, indicating where the very top centre of the mirror will go.
Step 2: As your pencil point on the wall indicates where the top of the mirror is and not where the hook should go, turn your mirror over and hold the cord taught, measuring down from the top to locate your ideal hook location.
Step 3: Take this distance and mark down from your original wall mark to represent the exact position of where the base of the hook should go.
Step 4: Take care whilst using a hammer to attach your hook. Once in place, your mirror is ready to hang!
Heavy Mirrors and Pictures with Strap Hangers
Heavier items (particularly mirrors) understandably require a little extra support and usually come with strap hangers attached to each side on the back. For these, you'll need to screw j-hooks onto the wall.
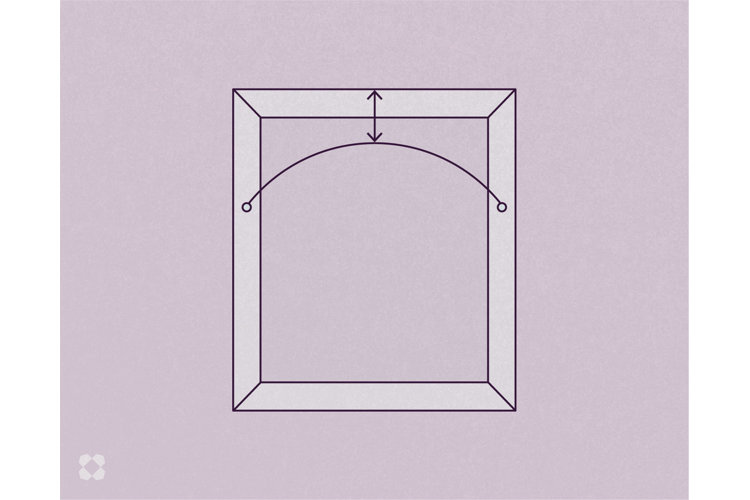
Step 1: When installing j-hooks, it's important to get the measurements exactly right. First establish the distance between the centres of the strap hangers to distinguish how far apart your j-hooks should be.
Step 2: Next measure how long the distance is between the centre of the strap hangers and the bottom of the frame. Then decide how far from the ceiling you'd like your mirror or picture to hang.
Step 3: If hanging the mirror or picture above a mantelpiece or piece of furniture, measure up from its top point to where you'd like the bottom of the mirror or picture to hang.
Step 1: Take your measurements and find the centre point of where you'd like to hang your mirror, marking a centre line with a pencil.
Step 2: From this point, take the distance between the strap hangers and apply half of the measurement to either side of your centre line pencil at the height you'd like your j-hooks to go.
Step 3: Use a laser level for accuracy and mark your points with a pencil. Install one hook first and double check your measurements to confirm the exact distance for where the second hook should go. A laser level can then be used again to check that they are level.
Tip: After installing the hooks, if you still don't find your picture to be level, we recommend adjusting the strap hangers as opposed to the j-hooks. These are simply unscrewed and re-screwed back on (a much simpler process than having to alter the j-hooks)
Enjoyed this article? Then take a look at:
- Master the Art of The Gallery Wall
- The Expert Guide to Removing Wallpaper and Wallpaper Glue
- How to Create a Zoom-Worthy Background at Home
