The Ultimate Guide to Installing Outdoor Lighting
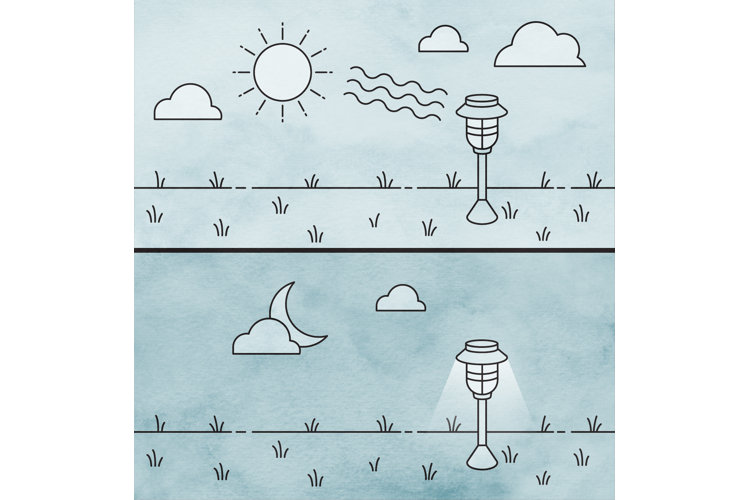
Lights on!

Outdoor lighting is an easy and effortless way to add ambience and security to your garden and patio. So if you're searching for tips on how to install outdoor lighting yourself, read our handy guide.
Overview:
Before You Begin
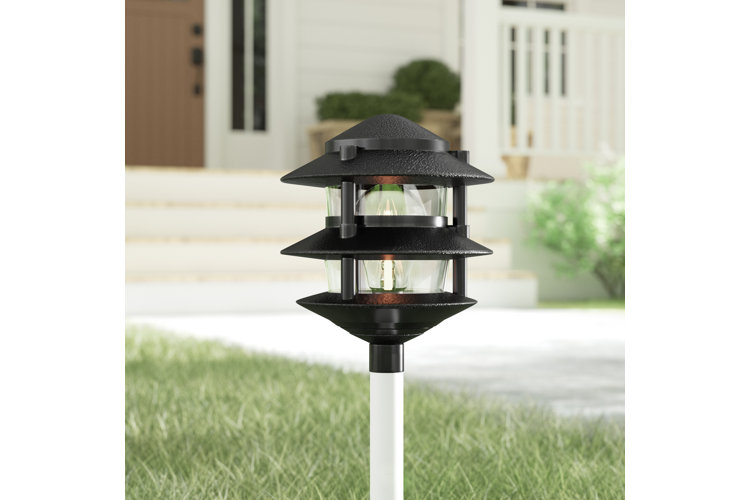
How to Install Landscape Lighting
How to Replace an Outdoor Light Fixture
Before You Begin
Before you install outdoor lighting, it's important to understand the aspects below.
Low-Voltage Landscape Lighting Requirements
Low-voltage landscape lighting requires the use of a transformer, which is plugged into an outdoor electrical outlet. Transformers take the household voltage of 120-volts and reduces it to 12 volts, making it compatible and safe for landscape lighting.
We recommend adding up the total wattage for the lights you will be plugging into the transformer and then adding another 20% to that number. Pick a transformer that can handle the combined wattage so it is not overloaded.
Power Types
Hardwired fixtures require more installation and wiring. We recommend working with an electrician if you will be running power lines through your home's walls, using line voltage for landscape lighting, or installing lights where there previously weren't any. This may include new post lighting and any wall-mounted, hanging or flush-mount lights.
However, if you're installing solar or low voltage landscape lighting, or simply replacing a light with a new style, follow the steps below.
How to Install Landscape Lighting
Solar
Step 1: Assemble Lights
Follow the manufacturer's instructions to properly assemble the lights. We also suggest exposing the solar lights to the sun for a day before installing them, so you can see if any lights aren't working properly.
Step 2: Determine Layout
Once they've been exposed to sunlight, lay the lights down on the grass where you would like them to be installed. Place lights about 6" away from your pathway and at least a foot away from each other.
Step 3: Install the Stake
Pour some water on the area where you plan on installing the stake. This will soften the ground so the stake doesn't bend or break during installation. Push the stakes into the grass and attach the lights to them – usually by clicking or twisting them into place.
Low-Voltage Lighting
What You'll Need
- Tape measure
- Drill
- Screws
- Shovel
- Transformer
- Landscape lighting wire
- Waterproof wire connectors
- Wire strippers
- Wire cutters
- Electrical tape
Step 1: Measure Length of Area
To ensure you have the right amount of landscape lighting wire, measure from the transformer to where you want your landscape lighting to stop. Make sure you choose a wire that can handle the wattage of your transformer.
Step 2: Turn Off Power
At the circuit breaker, turn off the power to the area where you will be working. Make sure to test that the power is off before continuing.
Step 3: Mount the Transformer
The transformer should be mounted next to the GFCI outlet on the exterior of your home. Make sure it is at least 12" above the ground. You may need to drill a hole to attach it to the side of your house. Use the manufacturer's directions to properly wire your transformer.
Step 4: Lay the Cable
Lay the cable down where your lights will be placed. Make sure the cable lies at least 6" away from your pathway. Use the light's stakes to mark where you want the lights to be placed along the cable.
Step 5: Connect the Lights
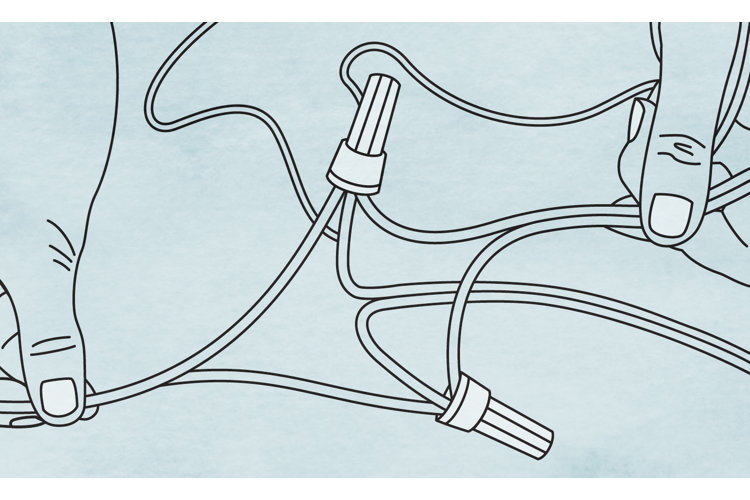
Follow the manufacturer's instructions to connect the lights to the cable. You may need to cut the cable (at the location of where the light will be), strip off a few inches of the cable covering and twist the cable and light's wires together. Cap it with a waterproof wire connector then wrap the connectors in electrical tape. Each light will have two cables (one that leads to the light and one that leads away from the light) that need to be connected and topped with wire caps to allow the electricity to continue flowing to the next light.
If your lights come with two connectors, you can use these instead. Take the two connector halves hanging from the light fixture and place them around the cable. Pinch them together until you hear a snap. Prongs within the connector will pierce the cable and touch the wires inside.
Step 6: Dig a Trench for the Cable
Dig a 6" hole next to where you laid the cable. Before burying the cable, test the lights to make sure they work. Remember to turn on the power at the circuit breaker. Once the lights are working, you can bury the cable and push the lights into place.
How to Replace an Outdoor Light Fixture
If you are replacing a flush mount, semi-flush mount, wall light or hanging wall light with a new one, follow the general steps below. Please note that installation may vary by manufacturer.
What You'll Need
- Screwdriver
- Drill
- Level
- Wire connectors
- Electrical tape
- Wire stripper
- Caulk
- Light bulbs
Step 1: Turn Off the Power
At the circuit breaker, turn off the power to the area where you will be working.
Step 2: Remove Existing Fixture
Use a drill to remove the mounting plate and light from the wall. Disconnect the wires by twisting off the wire connectors and wire ends.
Step 3: Replace Mounting Bracket
Take your new light fixture's mounting bracket and drill it into place.
Step 4: Connect Wires
There are three main types of wires: black or red (hot), white or gray (neutral) and ground (usually green or bare copper). Wrap the grounding wire extending from your wall twice around the green bolt that is on your new mounting plate. Tighten the green bolt with a screwdriver. Then connect corresponding wires together by twisting wires from the wall to the same color wire on the light fixture. For example, black wires connect to each other, and white wires connect to each other. If the colors don't line up, make sure hot wires connect to each other and neutral wires connect to each other. Top the twisted wires with a wire connector and tighten the connection. Wrap the connectors in electrical tape. Tuck all the wires into the junction box.
If the wires aren't long enough to connect together, use wire strippers to remove another inch of covering.
Step 5: Install the New Fixture
Using a screwdriver or provided hardware, attach the light to the mounting bracket.
Step 6: Seal Gaps
Place a bead of caulk around the mounting plate to seal any gaps between that and the wall.
Step 7: Test It Out
Insert the light bulbs and turn on the power at the circuit breaker to make sure they work.
Tip: Make sure you're getting the most out of your outdoor lighting by reading these additional guides:
